Embroidery Hoop Mockup Smart Object PSD: A Hands-On Review
When you spend hours digitizing a design, pulling thread colors, and test-stitching on scrap fabric, the last thing you want is a flat, lifeless photo to represent your work. I have been running a small custom embroidery shop for over a decade, and I have learned that the mockup you choose can make or break a customer's first impression. Recently, I downloaded the Embroidery Hoop Mockup Smart Object PSD from Creative Fabrica to see if it could deliver the kind of visual warmth and detail my handmade products deserve. Here is my honest evaluation after using it for real projects.
First Look: Mood, Detail, and Stitching Personality
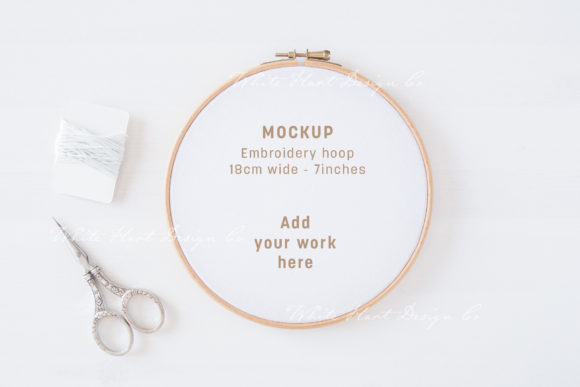
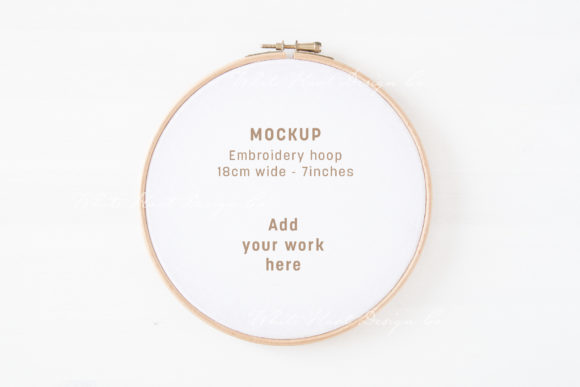
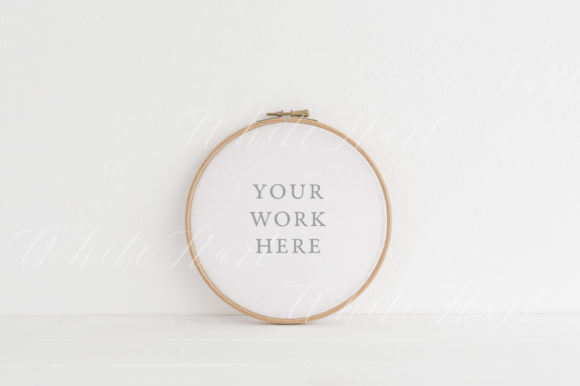
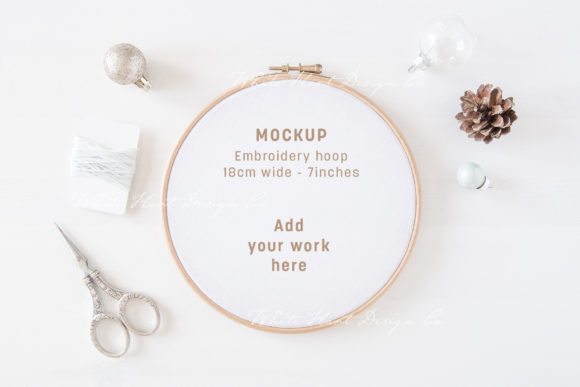
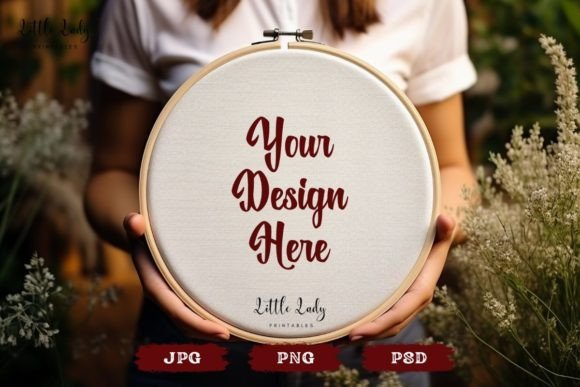
Opening the Embroidery Hoop Mockup Smart Object PSD file, I was immediately struck by the scale. At 4000 x 3000 pixels, this is not a tiny thumbnail mockup meant to be forgotten in a listing. The hoop is presented front-facing with a clean wooden frame that has a subtle grain, and the fabric inside has a gentle texture that reads as natural cotton or linen. That texture matters because when I place a satin stitch or fill stitch design into the smart object, the fabric grain interacts with the light in a believable way. It does not look like a design floating on a flat surface. It looks like thread on cloth.
The mood of the mockup is warm and approachable. It feels like something you would see in a boutique shop or on a handmade gift Etsy listing. There is no harsh glare or overproduced studio lighting. Instead, the shadows are soft, and the hoop casts a gentle shadow onto an invisible surface, which gives the whole presentation a grounded, real-world feel. For an embroidery designer who cares about stitching personality, this mockup respects the craft. The empty background inside the frame in the PNG file is also a thoughtful touch because it lets me show the actual embroidered area clearly when I need a flat preview.
How It Performs in Real Embroidery Projects
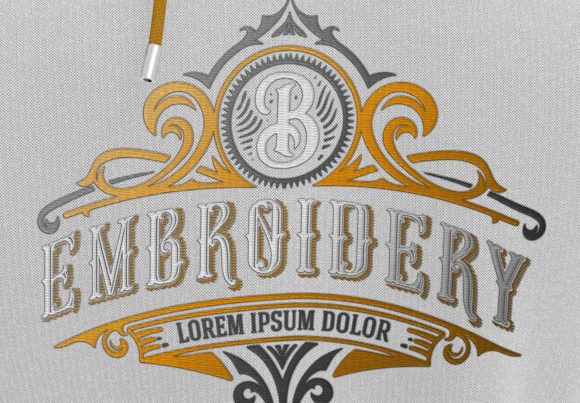
I tested the Embroidery Hoop Mockup Smart Object PSD against several project types I commonly handle. For custom apparel like a sweatshirt embroidery design, the mockup helped me present the hoop as a styling prop rather than the final product. I placed a dense fill stitch monogram into the smart object, and the mockup held the detail well. The lettering appeared crisp, and the fabric texture did not overpower the thread. This is a common pitfall with mockups that have too much fabric noise. Here, the balance feels right.
For a tote bag design, I used the PNG file with the empty background to overlay the hoop onto a photo of a finished bag. The transparent center made compositing straightforward, and the final image looked like a cohesive product shot rather than a cut-and-paste job. I also tested it with a baby blanket embroidery scenario. The soft mood of the mockup worked beautifully for a nursery-themed design. The wooden hoop read as a decorative nursery item, which is exactly how many customers display small hoop art.
I should note that the smart object functionality in the PSD file is smooth. Double-clicking the smart object layer opens a new window where you can paste your embroidery design or artwork. Once you save and close, the mockup updates instantly. This saved me a lot of time when I needed to show a client three color variants of the same design. Instead of rebuilding a scene, I just swapped the art in the smart object.
Small Hoop Sizes and Tiny Lettering
Not every design is a bold monogram. I tested a machine embroidery design with tiny lettering, about 8mm tall, using a 5-inch hoop setting in the mockup. The result was clear enough for social media and Etsy thumbnails, but I would recommend using the full 4000 x 3000 pixel resolution when zooming in for detail shots. The mockup does not artificially blur small elements, which is a sign of a well-built file. For dense stitch areas, such as a fill stitch patch design, the mockup handled the weight of the thread visually without looking muddy. However, if you are working with extremely high stitch density, I always suggest stitching a test on scrap fabric first, regardless of what the mockup shows.
Practical Considerations: Fabric, Curved Surfaces, and Washing
One area where many mockups fall short is in simulating how a design will look on textured or stretchy fabric. The Embroidery Hoop Mockup Smart Object PSD is designed for flat hoop presentations, so it works best for projects where the hoop itself is part of the display. For curved cap surfaces or stretchy T-shirt fabric, you will need to rely on your own product photography or a cap-specific mockup. That said, for flat applications like kitchen towels, pillow covers, aprons, and wall art, this mockup performs beautifully.
I also considered how the mockup might affect buyer trust. When a customer sees a listing with a realistic hoop mockup, they can imagine the finished product in their own home. The warm, natural lighting of this file helps build that trust. It does not look like a generic template. It looks like a real hoop with real thread. For handmade gifts and personalized items, that visual authenticity is critical. A mockup that feels too sterile can make a handmade product seem mass-produced, which is often the opposite of what an Etsy buyer wants.
For products that need frequent washing, like baby blankets or kitchen towels, the mockup does not directly address wear over time, but it does present the design in a way that emphasizes quality. The clear presentation of the hoop and fabric suggests careful craftsmanship, which correlates in the buyer's mind with durability. I always pair my mockups with clear care instructions in the listing, and this mockup gives me a professional canvas to do that.
Product Value and Brand Consistency
As someone who sells both finished products and digital embroidery files, I appreciate when a mockup can serve multiple roles. The Embroidery Hoop Mockup Smart Object PSD works for printed product photography, social media posts, and even as a thumbnail for a digital embroidery file listing. The 4000 x 3000 pixel resolution also means I can crop into the image for close-up detail shots without losing quality. For brand consistency, I have started using the same mockup across my shop for all hoop-based designs, and my listings now have a cohesive look that helps customers recognize my work instantly.
The inclusion of three file formats—JPG, PNG with empty background, and PSD with smart object—covers almost every use case I have. The JPG is great for quick previews, the PNG is essential for compositing into other scenes, and the PSD is my go-to for client proofs. I did not find any missing formats for my workflow. The only thing I will note is that, since the product is categorized under Art Creative Mockups and Graphics, it is clearly designed for visual presentation rather than direct embroidery digitizing. That is exactly what I needed, but if you are looking for a file that includes stitch data or machine formats, this is not that product. It is a mockup for showcasing your finished embroidery.
Practical Embroidery Notes Before You Use It
Before I wrap up this review, I want to share a few practical notes I have collected from using this mockup in real client work. First, always test your design on scrap fabric before you photograph it for the mockup. The mockup can make any design look good, but your final product needs to match the promise of the image. Check your thread color contrast against the mockup's fabric color. The fabric in this mockup is a medium-light natural tone, so dark fabrics may require you to adjust the brightness or use the PNG file to overlay your own dark fabric background.
Second, review stitch density before placing a design into the mockup. While the mockup handles dense areas well visually, your actual embroidery machine may have limits. Always confirm your hoop size and stabilizer choice before stitching the final product. I recommend comparing a light fabric mockup and a dark fabric mockup if you offer both options, because the same design can read very differently on dark backgrounds.
Third, inspect small details after stitching. The mockup may show perfect alignment, but fabric shifting during embroidery is real. Use proper stabilizer and hooping technique to ensure your finished product matches the mockup. Finally, and importantly, check the file details and licensing on the Creative Fabrica product page before you sell finished items. The product includes a copyright notice regarding reselling, and I always advise readers to review those terms carefully. The product page is where you will find the most accurate and up-to-date information about usage rights.
Final Thoughts on the Embroidery Hoop Mockup Smart Object PSD
After several weeks of using the Embroidery Hoop Mockup Smart Object PSD in my daily workflow, I can say it has earned a permanent place in my design assets folder. It is not a flashy mockup with dozens of scenes or complex lighting setups. Instead, it is a reliable, well-built tool that respects the craft of embroidery. The smart object feature saves time, the resolution supports detailed product photography, and the natural fabric texture helps my designs look like real handmade products, not digital fabrications.
For embroidery designers, Etsy sellers, boutique owners, and anyone who presents their work online, this mockup is a solid investment. It elevates product listings without lying to the customer. When I place a satin stitch rose or a fill stitch monogram into that hoop, the result is honest, warm, and professional. That is exactly what I want my customers to see before they click "add to cart." If you are looking for a mockup that treats your embroidery with the respect it deserves, I recommend giving this one a close look.